


A leather motorcycle vest looks finished when it ships. The stitching is tight, the zipper glides, and the leather sits flat and uniform. The real question isn't what the vest looks like when you open the box — it's what the stitching and hardware will look like in two or three seasons of regular riding. That requires knowing what to inspect, and why it matters.
Thread Weight: The First Thing to Check
Thread weight determines whether the seam holds or saws through the leather over time. Leather generates real friction against thread as the garment flexes during riding — the shoulder-check rotation, the leaning flex at the waist, and the repeated opening and closing of the front closure all put cumulative stress on every seam. Thread that is too light for the hide weight will cut through the leather at the needle holes over time. The seam doesn't fail at the stitch — it fails at the leather, which is harder to repair.
When inspecting a vest, look at the thread visually against the hide. The thread should look substantial relative to the leather panel — not fine enough to seem decorative, not so heavy it bunches the leather as it pulls through. On quality American-made vests like those in the Legendary USA American-made motorcycle vest collection, thread selection is matched to hide weight as a standard construction specification rather than as a cost-cutting variable.

Stitch Count and Consistency
Stitch count per inch determines how load is distributed across the seam. A lower stitch count concentrates stress at each individual stitch point. When the vest flexes and that stress repeats over thousands of miles, low-count stitching creates a perforation pattern in the leather and eventual seam failure. Higher stitch counts distribute load more evenly across more points, which is why vest construction spec sheets from domestic manufacturers specify stitches per inch at each seam type.
Consistency is equally important. Run your eye along a straight seam — if the spacing varies noticeably, it indicates inconsistent machine tension or hand-finished sections where the machine operator paused and restarted. Consistent spacing indicates that the machine was set correctly for the material and run continuously, which produces stronger seams than inconsistent hand-adjusted stitching.
Stress Points: Where to Look First
Not all seams see the same stress in a motorcycle vest. The armhole edge, the side seams from hip to armhole, and the pocket mouths are the three highest-stress locations. A vest that is cut to corners on construction costs will show it first at these three points.
At the armhole edge, look for reinforced stitching — either a second row of stitching parallel to the first, or a bound edge that distributes the stress across a wider surface than a single-row seam allows. At the side seams, check whether the seam allowance inside the vest is adequate — a seam allowance that is too narrow doesn't leave enough leather at the needle holes to resist tearing under lateral stress. At the pocket mouth, look for a bartack or reinforcing stitch at the zipper end where the maximum stress concentrates when the pocket is loaded.
Front Zipper Assessment
The front zipper on a motorcycle vest closes more often than almost any zipper on a riding garment. The vest goes on and off before and after every ride. The zipper itself needs to be heavy enough that the pull doesn't flex excessively under gloved-hand operation, the slider body needs to be properly sized for the teeth, and the tape stitching to the leather panels needs to be reinforced at the top and bottom stops where the mechanical load concentrates.
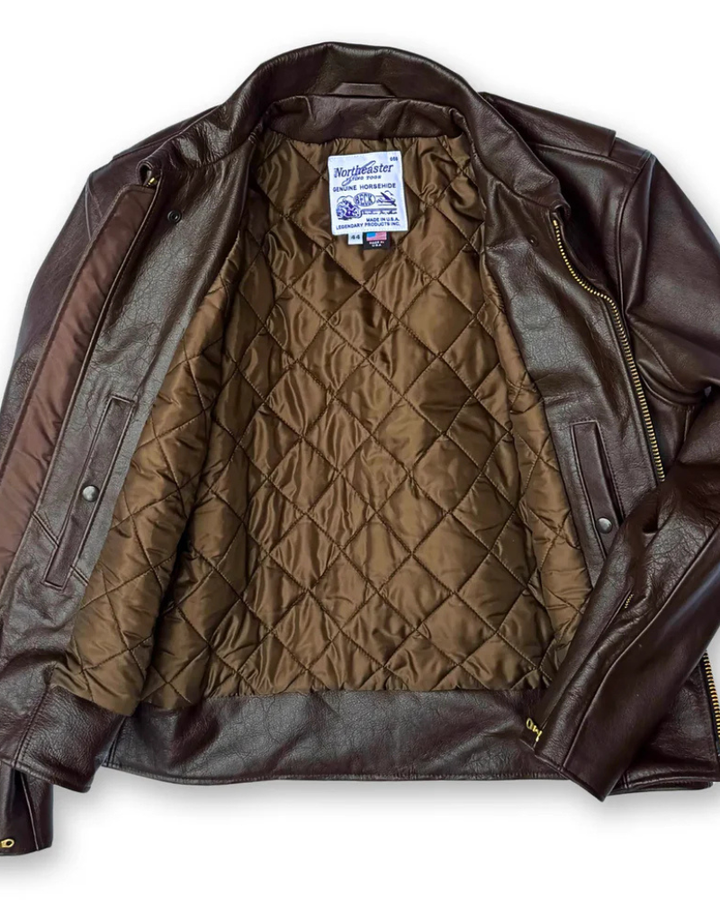
A light fashion zipper on a motorcycle vest will fail within a season of daily use. American-made vests specify appropriate zipper hardware for riding use rather than for showroom appearance. The BECK 566 Horsehide Leather Motorcycle Vest uses hardware appropriate for the horsehide shell — a hide that is itself more resistant to the wear that accumulates at zipper tape edges than standard cowhide.

Snap Fittings
Snap fittings on a motorcycle vest — on the front, at adjustable side tabs, or at pocket closures — need enough base material that the post doesn't pull through the leather with repeated use. A snap that is too small for the panel thickness will eventually widen its hole in the leather and either fail to engage cleanly or tear through.
When inspecting snaps, apply light lateral pressure to the fitting and feel for any movement in the post relative to the leather. A properly set snap should be completely rigid in the panel — no flex, no rotation. A snap with any play in the setting will fail earlier than a properly set one.
Where to Find American-Made Vests Built to These Standards
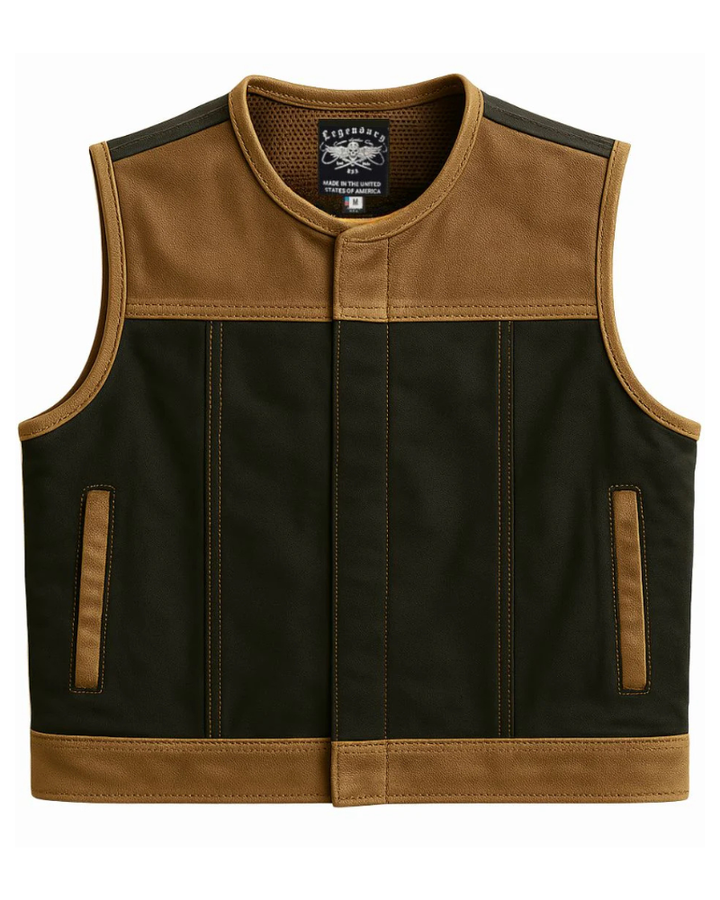
Browse the current Legendary USA American-made motorcycle vest collection and the full Legendary USA riding gear lineup for vest options built to domestic construction standards. For horsehide construction on a vest, the BECK 566 is available through Legendary USA as an authorized dealer.
Frequently Asked Questions
What type of zipper should a motorcycle vest have?
A motorcycle vest needs a heavy-duty zipper rated for repeated use — not a light fashion zipper. Look for a slider that is substantial enough to operate with gloved hands, teeth that engage cleanly with no skipping, and tape stitching that is reinforced at both the top and bottom stops. YKK heavy-duty coil zippers or equivalent heavy-gauge metal zippers are commonly used in quality riding vests. A zipper that feels lightweight when new is a reliable indicator of a vest that was built to a price point rather than a durability standard.
Can I repair stitching on a motorcycle vest myself?
Minor seam repairs are possible if you have a heavy-duty sewing machine capable of handling leather and appropriate thread weight. Most standard home sewing machines are not adequate for leather thicker than 2 oz — they lack the presser foot pressure and needle strength to drive through leather consistently. For significant seam repairs or pocket reinforcement, a leather repair specialist or saddle shop with industrial machines is the more reliable option. Prevention through quality initial construction is more practical than repair for most riders.
How many stitches per inch should a motorcycle vest have?
For leather motorcycle vests, 6–8 stitches per inch is a common specification for primary seams — enough to distribute load adequately across the seam without perforating the leather panel at the needle holes. Higher stitch counts (8–10 spi) are sometimes used at high-stress points like pocket mouths and armhole edges. Fewer than 5 stitches per inch on a primary seam is a sign of cut-rate construction that will show stress earlier than a vest built to proper specification.