

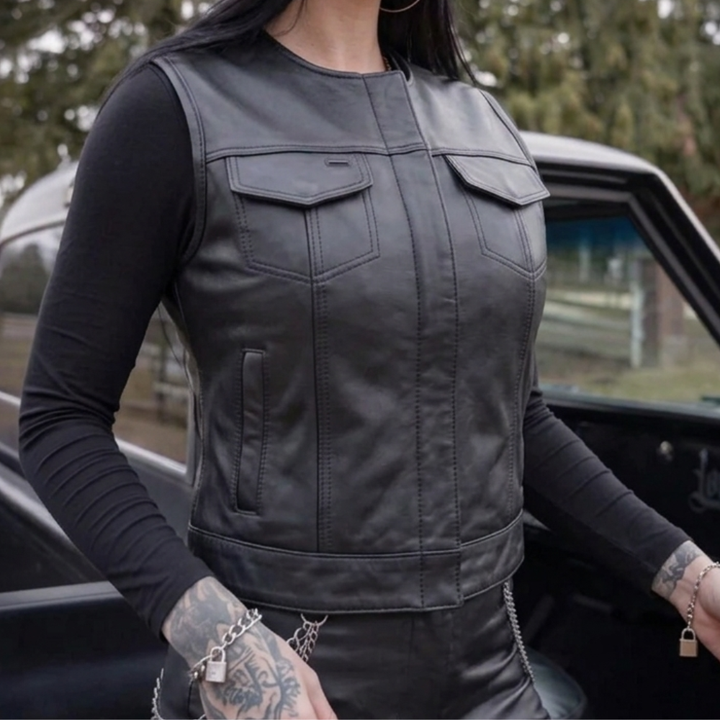


To sew a patch on a leather motorcycle vest, position it with the vest on your body, hold it with clips or tape, and hand-stitch through the patch border using a glover's needle and bonded nylon thread — shell only, not the liner. Hand sewing beats machine sewing on leather, and sewing beats glue every time. Here is the full process, what to buy, and the mistakes that ruin vests.
What You Need Before You Start
The supply list is short: a glover's needle (the triangular point cuts leather cleanly instead of tearing it), bonded nylon or heavy polyester thread in a color matching the patch border, binder clips or painter's tape for positioning, a thimble, and a mirror. Skip pins — every pin hole in leather is permanent. Skip cotton thread — it rots with sweat and weather. Skip iron-on adhesive entirely; heat and leather do not mix, and the bond fails with flexing and rain anyway.
Step-by-Step: Hand Sewing a Patch on Leather

1. Position with the vest on. Lay the patch where you think it goes, clip it, then put the vest on and check a mirror. A vest curves over your back, so a patch centered on a flat table often sits crooked on the body. Adjust until it reads straight at riding posture.
2. Secure the patch. Binder clips around the edges, or painter's tape framing the patch. A small dab of glue stick in the center is fine as a temporary hold — it is not the attachment method.
3. Free the liner. Stitch through the shell only. Work between the liner and shell where you can, or open a few inches of the liner hem and restitch it closed when done. Sewing through the liner puckers it and shows stitch lines inside.
4. Stitch the border. Use a running stitch or whip stitch through the patch's embroidered border, about an eighth of an inch apart. Push with the thimble; leather resists more than fabric. Keep tension even — tight enough to seat the patch flat, loose enough not to dimple the leather.
5. Lock and finish. Backstitch two or three times, knot on the inside, and trim. Put the vest on one more time and confirm the patch sits flat with no ripple.
Plan on an hour or more for a large back patch. It is slow work. It is also the method that holds for the life of the vest.
Hand Sewing vs. Machine Sewing: Which to Use
The answer depends on the vest material. On leather, hand sewing wins: most home machines cannot reliably punch a patch plus hide, and a wandering machine line on leather is permanent. A commercial walking-foot machine handles it, which is why some riders hand their vest to a shop or shoe repair counter for big back patches.
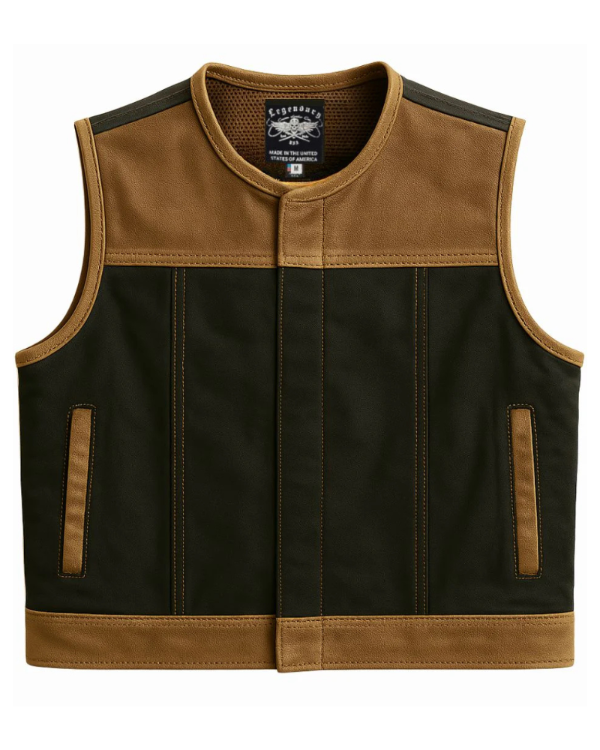
On denim, the machine wins for speed. The Legendary Revolution denim motorcycle vest is cut from 13.5 oz North Carolina cotton denim and takes patches from any standard home sewing machine — one of the reasons riders who patch heavily run denim. If that trade-off sounds right for you, our roundup of the best patch-friendly motorcycle vests compares the options, and vests like the Legendary Black Jack are built with a one-piece main back panel specifically to give a large patch a clean, seam-free surface.
Mistakes That Ruin Vests
Pinning through leather. Pin holes never close. Clips and tape only.
Ironing on a patch. Heat scorches and stiffens hide, and the adhesive quits in weather.
Sewing the pocket shut. Check what is behind your patch location — interior pockets sit exactly where front patches go.
Skipping the mirror check. Flat-surface alignment lies. Body check before the first stitch, and again after the first few.
Stretching the leather. Sewing with the panel tensioned or the vest hanging off a table edge dimples the hide around the stitches. Keep the panel flat and relaxed.
Frequently Asked Questions
- Can I sew patches on a leather vest with a home sewing machine?
- Usually not well. Most home machines struggle to punch through a patch plus vest leather, and skipped stitches or broken needles are common. Hand sewing with a leather needle is the reliable method for leather vests. Denim is a different story — a vest like the Legendary Revolution denim vest takes patches on any standard home sewing machine, which is one reason riders who patch heavily choose denim.
- Should I glue or sew patches on a motorcycle vest?
- Sew them. Iron-on adhesive and fabric glue do not bond reliably to leather, and heat from an iron can scorch or stiffen the hide. Glue also fails with flexing, rain, and sun. A small dab of glue stick to hold position while you stitch is fine, but the patch should be held on by thread. Sewing is also reversible — stitches come out cleanly if you re-patch later.
- What thread and needle should I use for sewing patches on leather?
- Use bonded nylon or heavy polyester thread — size 69 bonded nylon is a common choice — and a glover's needle, which has a triangular point that cuts cleanly through leather instead of tearing it. Match thread color to the patch border so stitches disappear. Cotton thread is the wrong choice; it rots with sweat and weather exposure.
- Do I sew through the vest liner or just the leather?
- Best practice is to stitch through the shell only, keeping the liner free so it hangs and moves the way it was built to. Reach between the liner and the shell where the construction allows it, or open a few inches of the liner's stitching at the bottom hem and close it after. Sewing through both layers works but can pucker the liner and telegraph stitch lines inside the vest.
- Where do patches traditionally go on a motorcycle vest?
- The back panel carries the largest patch, centered between the shoulder blades. Front patches typically ride on the chest above the pockets. If you ride with a club, patch placement follows the club's rules — never guess. Independent riders have no rules to follow, but a one-piece back panel with no center seam gives the cleanest canvas for a large back patch.
- How do I keep a patch straight while sewing it on a vest?
- Position the patch with the vest on a flat surface, then put the vest on and check it in a mirror — patches that look centered flat often sit crooked on the body because a vest curves over your back. Hold position with binder clips or painter's tape around the edges, not pins, which leave permanent holes in leather. Recheck alignment after your first few stitches.
Take Your Time and Do It Once
A patch job is permanent on leather, so the sequence matters more than speed: position on the body, clip it, free the liner, stitch the border, lock it off. Done right, the patch outlasts the thread on cheaper vests and comes off cleanly if you ever re-patch. If your current vest fights you every step, start with a better canvas — the full line of USA-made motorcycle vests includes one-piece back panels and denim options built for exactly this.