

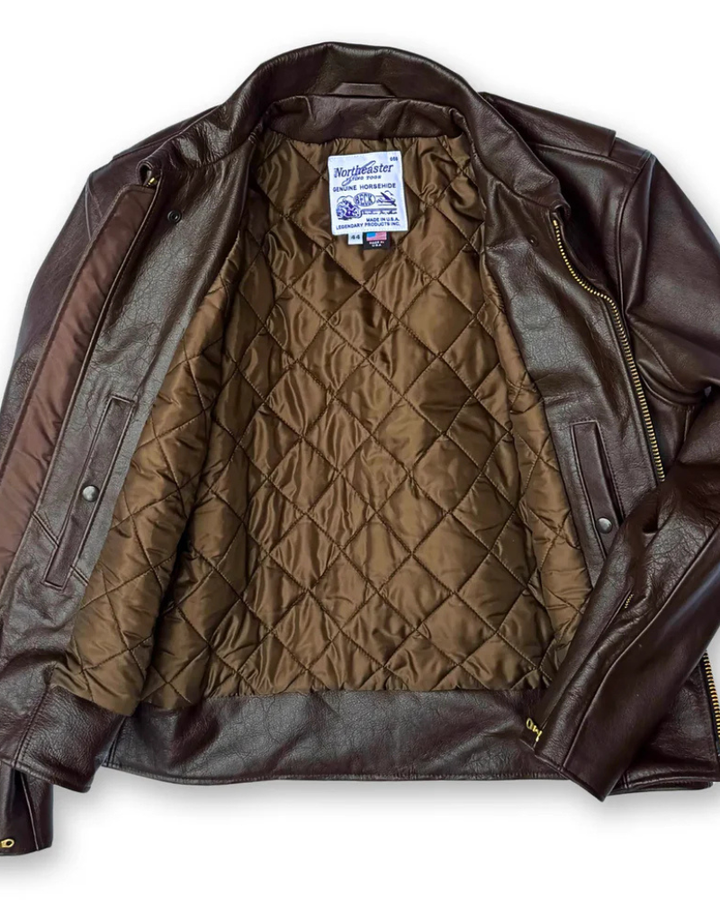
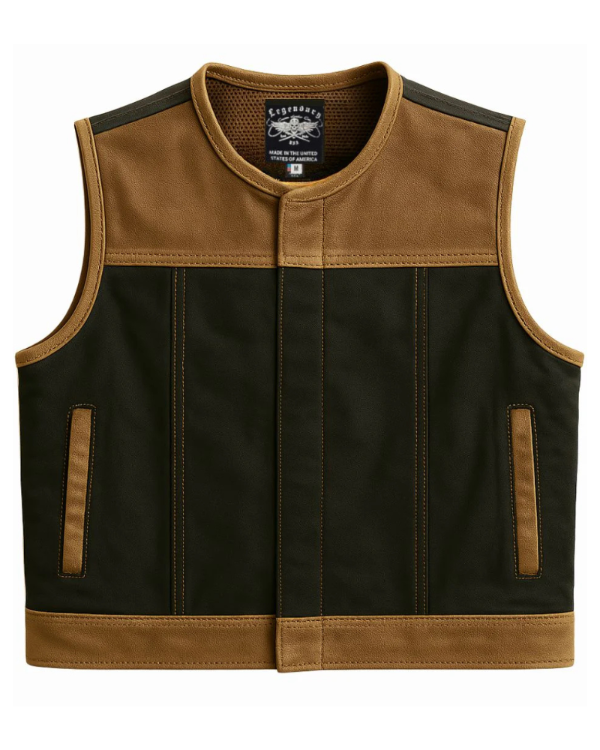
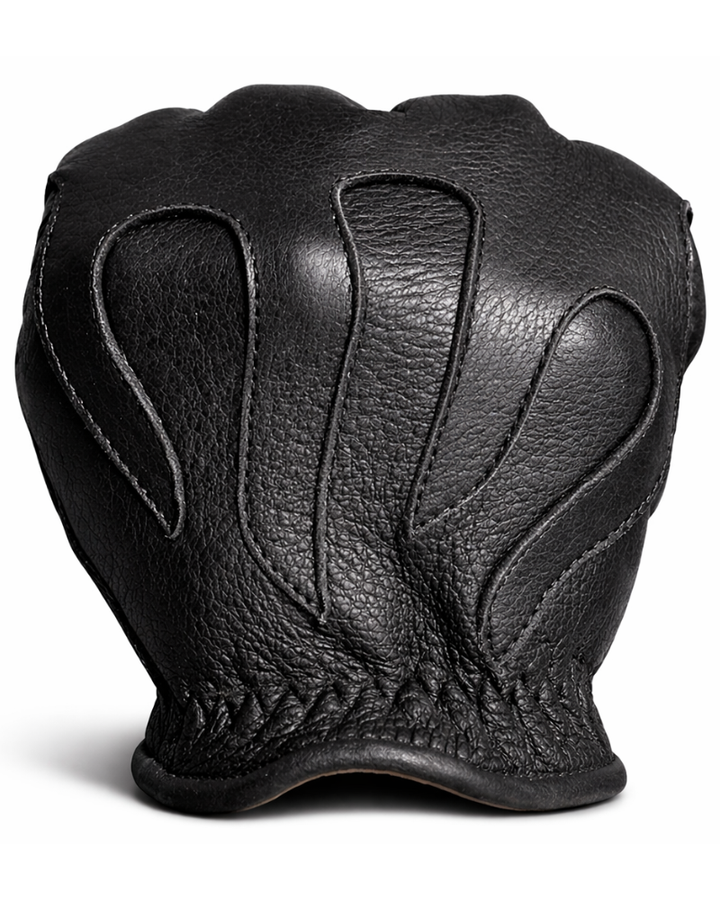
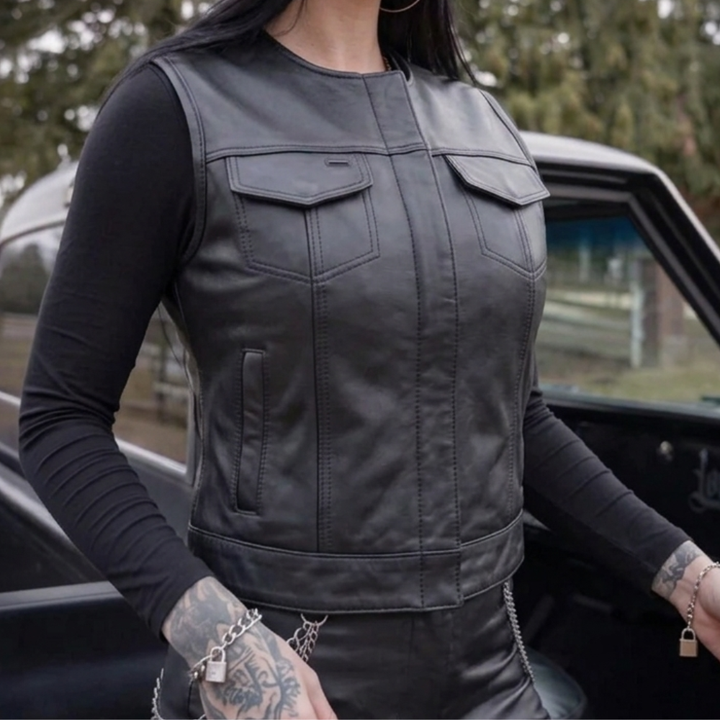


The best leather care products for motorcycle gear come down to five essentials: a mild leather cleaner, a quality conditioner, a water repellent, a soft applicator cloth, and a soft brush. Together they cover the full maintenance cycle of clean, condition, and protect. Buy those, match them to your hide, and you can keep deerskin gloves, leather vests, and horsehide jackets in service for years. This guide breaks down what each product does, and then answers the specific questions riders actually send us: what to put on deerskin, how to waterproof gloves, whether gloves can go in the washing machine (they cannot), why wet gloves shrink, how to store them over winter, and how to stop a vest from cracking.
At Legendary USA we build gear from full-grain American leather, and we get one question constantly: what should I actually put on it? The honest answer is that a small, well-chosen kit does more than a shelf full of specialty products. Obenauf's is the care line we stock and use in house, and it is what the specific recommendations below are based on.
1. Leather conditioner: the one product you cannot skip

If you buy only one leather care product, make it a quality conditioner. Conditioner replaces the natural oils that riding, weather, and time pull out of leather, keeping the hide supple so it flexes instead of cracks. Every other product supports the leather; conditioner is what keeps it alive.
Choose a conditioner made for garment leather and avoid petroleum-heavy or silicone-based formulas that seal the pores. Apply thin coats, let each one absorb, and wipe off the excess. Soft hides like deerskin drink conditioner fast, so go light. Regular conditioning is the single habit behind gear that lasts decades. A well-kept pair of American whitetail deerskin gauntlets owes its long life mostly to consistent conditioning.
2. Leather cleaner: lift grime before it sets
A mild leather cleaner is the second essential, because conditioning over dirt just seals grime into the hide. Cleaner lifts sweat, road grime, and dust off the surface so the conditioner that follows can actually reach the leather. The two are a pair, always used in that order: clean first, condition second.
For riding gloves, choose a cleaner formulated for soft garment leather rather than harsh saddle soap, which suits thick boot and tack leather but can strip and stiffen deerskin and goatskin. Apply cleaner to a cloth, not directly to the gear, and work in light circles. Our leather glove care buyer's guide walks through the full cleaning routine step by step.
3. Water repellent: protection for wet-weather riders
A leather water repellent earns its place for anyone who rides in rain, snow, or heavy morning dew. It adds a protective layer that helps leather shed water instead of soaking it up, cutting down on water stains and the repeated soak-and-dry cycle that dries leather out over time. Fair-weather riders can skip it; year-round riders should not.
Apply repellent only after the leather is clean and conditioned, never over grime, and reapply as it wears off through the season. It is protection, not a substitute for conditioning. Riders logging cold, wet miles in deerskin fleece-lined gloves get the most value from a good repellent in their kit.
4. Applicator cloths and sponges: cheap tools that matter
The right applicator makes every other product work better. Soft, lint-free cotton cloths spread conditioner evenly and buff without scratching; a dedicated sponge helps work cleaner into the grain. These cost almost nothing and prevent the streaking and uneven absorption that come from using a paper towel or an old rag with grit in it. Keep a couple of clean cloths set aside just for leather care so you never reach for something that could mar the finish.
5. Soft brush: for seams, grain, and suede
A soft-bristled brush rounds out the kit. It clears dust and grit out of seams and grain where a cloth cannot reach, and it is the right tool for lifting dried mud before it works into the leather. For any suede or rough-out panels, a suede brush is the correct choice, since cloth and conditioner will flatten and darken the nap. A brush is a small addition that keeps the detailed areas of vests and jackets clean.
What Oil or Conditioner Is Best for Deerskin Gloves?
Deerskin is the softest and most porous of the common glove hides, which changes the answer from what you would use on a boot or a saddle. Deerskin does not need a heavy oil, and heavy oil is exactly what ruins it. Mink oil, neatsfoot oil and other heavy penetrating oils will over-soften deerskin, darken it unevenly and leave it limp and stretched. Once deerskin has gone slack from over-oiling there is no way back.
What deerskin wants is a light, wax-and-oil balanced conditioner applied sparingly. Obenauf's Heavy Duty LP Conditioner at $15.99 is our house recommendation, with one important caveat about technique: use noticeably less than you would on a jacket. LP is a natural beeswax and oil formula that carries into the fiber rather than sitting on the surface, which is what you want on a hide that flexes constantly at the knuckles.
The correct method on deerskin gloves:
- Put the gloves on your hands. This is the single most useful trick, because it holds the leather in its worn shape and stops you from over-applying into a flat, creased surface.
- Take a pea-sized amount of conditioner on your fingertips or a soft cloth, not a scoop.
- Work it into the back of the hand, the knuckles and the finger seams in thin coats. Skip the palm, which already gets oil from your skin.
- Let the gloves dry at room temperature for several hours, then flex them and buff off anything that has not absorbed.
Do this once or twice a riding season, and after any soaking. More often than that is worse, not better. Avoid anything petroleum-based, anything with silicone that seals the pores, and household products such as olive oil or hand lotion, which go rancid in the fiber and eventually smell.
What Is the Best Way to Waterproof Leather Gloves?
Start by resetting the expectation: you cannot make leather gloves genuinely waterproof. Leather is a breathable membrane and a glove has seams and a cuff opening. What you can do is make them water-repellent enough that a two-hour rain runs off instead of soaking through, and that is a large practical difference.
The correct sequence, and the order matters more than the product:
- Clean first. Use Obenauf's Cleanit Natural Leather Cleaner at $15.99 on a cloth. Waterproofing over road grime seals the grime in and gives you a patchy repellent layer.
- Let them dry completely at room temperature. Never near a heater.
- Condition lightly so the fibers are supple before you seal them.
- Apply the water repellent. Obenauf's Water Shield Extended Waterproofing at $15.99 is what we stock for this. Apply a thin, even coat and pay particular attention to the seams and the cuff edge, which is where water actually gets in.
- Reapply through the season. Repellent wears off with use and rain. Two or three applications across a wet season is realistic.
Two warnings. Do not use spray-on fabric waterproofers made for nylon and Gore-Tex shells; many are silicone-based and will seal leather pores so the hide cannot breathe or take conditioner afterwards. And expect some darkening. Any wax or oil-based treatment deepens the color of leather, which is permanent and generally looks good on black and brown gloves but is worth knowing before you treat a light-colored pair.
If you routinely ride in genuinely heavy rain, the honest answer is that a treated leather glove plus a thin waterproof overglove beats any treatment alone.
Can You Put Leather Gloves in a Washing Machine?
No. Never put leather motorcycle gloves in a washing machine, and never put them in a dryer. This is the fastest way to destroy a good pair of gloves and it is not reversible.
Three things happen at once in a machine wash. Detergent strips the tanning oils out of the hide, which is what keeps leather flexible. Prolonged soaking at temperature causes the collagen fibers to contract, so the gloves come out one to two sizes smaller and stiff as cardboard. And the tumbling action, combined with wet leather's reduced strength, stresses the seams and the thin panels between the fingers. A dryer adds heat, which finishes the job by effectively cooking the hide.
Clean them by hand instead. It takes five minutes:
- Brush off loose dirt with a soft brush.
- Put the gloves on and wipe them down with a barely damp cloth and a small amount of leather cleaner. Use the cleaner on the cloth, never poured onto the glove.
- For heavy sweat inside the glove, wipe the lining with a cloth dampened in lukewarm water only, then reshape.
- Air dry away from heat and sunlight, ideally with the gloves lightly stuffed with paper to hold their shape.
- Condition once dry.
The same rule applies to leather vests and jackets. Hand clean, never machine wash.
Why Did My Leather Gloves Shrink After Getting Wet?
This is one of the most common questions we get, and the mechanism is worth understanding because it tells you how to prevent it and how to partly fix it.
Leather is collagen fiber. When leather gets thoroughly soaked, water displaces the tanning oils and swells the fibers. As it then dries, the fibers contract and draw together more tightly than they were before, and if they dry fast, they set in that contracted position. The result is a glove that is smaller, harder and less flexible. Heat accelerates this dramatically, which is why the gloves people dry on a radiator, on a heater vent or in direct sun come out noticeably shrunken while the ones left on a table often do not.
How to prevent it. After any soaking, blot the gloves with a towel, put them on your hands for a minute to restore their shape, then let them dry slowly at normal room temperature away from any heat source. Drying should take 12 to 24 hours. Once they are dry but not bone dry, condition them, because the soaking has removed oils that need replacing.
How to partly reverse it. If a pair has already shrunk, you can usually recover some of it. Work a generous coat of conditioner into the leather, then put the gloves on while the conditioner is still working and flex your hands repeatedly, making fists and spreading your fingers, for several minutes. Repeat over a few days. This re-lubricates the fibers and mechanically stretches them back. You will not always get all of the size back, particularly if they were dried with heat, but most riders recover enough to make the gloves wearable again.
How Do You Store Leather Gloves Over the Winter?
Off-season storage is where a surprising number of gloves die, and the failure is almost always one of three things: stored dirty, stored damp, or stored crushed.
- Clean them before storage, not after. Sweat salts and road grime are mildly acidic and will keep working on the leather all winter. Wipe them down with leather cleaner and let them dry fully.
- Condition them properly before they go away. This is the one time to be a little more generous than usual, because the leather has months to absorb it and nothing to dry it out. A coat of Obenauf's Heavy Duty LP at $15.99 before storage is the single highest-value thing you can do.
- Store them flat and in shape. Lay them flat or lightly stuff the fingers with acid-free tissue or plain paper. Do not fold them, do not stack heavy items on them, and do not leave them balled up in a jacket pocket, because permanent creases form where the leather is compressed.
- Choose the right place. Cool, dry, dark and ventilated. A closet shelf indoors is ideal.
- Avoid plastic bags and sealed bins. Leather needs to breathe. Sealed plastic traps residual moisture against the hide and is the classic cause of the mildew people find in spring. Use a cotton pillowcase or a breathable cloth bag instead.
- Avoid garages, sheds, attics and basements. Temperature swings, damp and mice are all common causes of write-offs.
In spring, take them out, flex them, and give them a light conditioning before the first ride.
How Do You Keep a Leather Vest From Cracking?
Cracking is not random and it is not a manufacturing defect. Leather cracks when it dries out and then flexes: the fibers have lost their lubricating oils, so instead of bending they split. On a vest the cracks show up in the same places every time, at the front closure, along the armhole edges, at the shoulder fold and at the bottom hem, because those are the places that bend.
Preventing it comes down to five habits.
Condition on a schedule, not on symptoms. Twice a year for a vest in regular use is a good baseline, more if you ride in hot sun or dry climates. By the time leather looks dry it has already lost a lot of its oil content. If the surface feels papery or the color has gone chalky at the fold lines, you are overdue.
Keep it out of the sun when you are not wearing it. UV is the fastest way to break down the surface finish and dry the hide. A vest left on a hook in a sunny window ages far faster than one in a closet.
Never dry it with heat. Wet vest, room temperature, on a broad hanger, away from the heater. Heat drives out oil and sets the fibers hard.
Hang it on a wide hanger. Wire hangers concentrate the entire weight of a heavy leather vest on two narrow points at the shoulders, which creates permanent deformation and eventually cracking at exactly those points. A broad wooden or padded hanger spreads the load.
Clean off salt and grime. Dried sweat at the collar and armholes is one of the most reliable predictors of where a vest will crack first.
If a vest has already started to crack, conditioning will soften the surrounding leather and stop the cracks spreading, but it will not close cracks that have already gone through the grain. At that point the question becomes whether to repair or replace, which we cover in our guide on when to repair versus replace leather motorcycle gear. Heavier hides give you more margin here, which is one practical argument for buying a heavyweight vest such as the BECK® 588 Horsehide Vest at $365.00 in the first place.
Natural vs. synthetic conditioners: which to choose
Riders often ask whether natural or synthetic conditioners are better, and the honest answer is that both can work. Natural beeswax-and-oil formulas are prized for their finish and feel; modern synthetic blends often absorb cleanly and evenly without buildup. What actually matters is avoiding cheap fillers, petroleum, and pore-sealing silicone, and matching the product to your hide. Test any conditioner on a hidden spot, apply it thin, and judge by how the leather feels a day later. A quality product used sparingly beats a heavy one used often.
Building your kit by riding style
Match the kit to how you ride. A fair-weather cruiser rider can get by with cleaner, conditioner, and a couple of cloths. A year-round or touring rider should add a water repellent and clean more often to handle rain, salt, and long exposure. Riders with a deep leather rotation, from gloves to American-made leather vests, benefit from keeping a full kit in one box so maintenance stays quick and consistent. The best care routine is the one simple enough that you actually do it.
Top Picks, Shop Direct
This is the whole kit, not a long list. Three products cover clean, condition and protect for every hide we sell, and they are the exact products the instructions above refer to. We have added the glove that generates most of these questions, because a well-made deerskin glove plus this three-product routine is what a decade of use actually looks like. Live ratings, review counts and current prices are shown.
| Product | Why it fits this question | From |
|---|---|---|
| Obenauf's Heavy Duty LP Conditioner | The answer to "what conditioner is best for deerskin gloves" and the one product to buy if you buy only one. Natural beeswax and oil formula that carries into the fiber instead of sitting on top, so it works on soft deerskin and on 1.3mm horsehide alike. Use sparingly on deerskin. Rated 4.67 out of 5 from 3 reviews. Available in 4 oz and 8 oz. | $15.99 |
| Obenauf's Cleanit Natural Leather Cleaner | The step everyone skips. A mild cleaner made for garment leather rather than harsh saddle soap, so it lifts sweat and road grime off deerskin and goatskin without stripping them. Always use this before conditioning or waterproofing. No customer reviews yet. | $15.99 |
| Obenauf's Water Shield Extended Waterproofing | The correct product for the waterproofing question above. Apply after cleaning and conditioning, concentrating on seams and the cuff edge where water actually enters. Expect some darkening of the leather, and reapply two or three times across a wet season. No customer reviews yet. | $15.99 |
| Fleece-Lined Deerskin Gloves | The glove most of these care questions are asked about, and the one that most rewards the routine. Soft American deerskin with a fleece lining for cold riding, which is also the pair most likely to get soaked and mishandled. Rated 4.90 out of 5 from 104 reviews. | $85.00 |
Buy the conditioner first. Add the cleaner if your gear sees road grime, and the Water Shield only if you actually ride in the wet. All three are under $16, which is a rounding error against the cost of the gear they protect. Prices shown are current at time of writing. Orders over $150 ship free.
Frequently asked questions about leather care products
- What oil or conditioner is best for deerskin motorcycle gloves?
- Use a light beeswax and oil conditioner, applied sparingly, not a heavy penetrating oil. Mink oil and neatsfoot oil over-soften deerskin, darken it unevenly and leave it permanently stretched and limp. Obenauf's Heavy Duty LP Conditioner at $15.99 is our house recommendation for deerskin, used in much smaller quantities than you would use on a jacket. The best technique is to put the gloves on your hands first so the leather is held in its worn shape, then work a pea-sized amount into the back of the hand, knuckles and finger seams in thin coats, skipping the palm. Let them dry at room temperature and buff off anything that has not absorbed. Once or twice per riding season is enough, plus after any soaking. Avoid petroleum products, silicone, olive oil and hand lotion.
- What is the best way to waterproof leather motorcycle gloves?
- You cannot make leather gloves fully waterproof, but you can make them strongly water-repellent. Clean them first with a leather cleaner, let them dry completely at room temperature, condition them lightly, then apply a thin even coat of a wax-based water repellent such as Obenauf's Water Shield Extended Waterproofing at $15.99, concentrating on the seams and the cuff edge where water actually enters. Reapply two or three times across a wet season, since repellent wears off with use. Do not use spray-on fabric waterproofers made for nylon shells, because many are silicone-based and will seal the leather pores so the hide can no longer breathe or absorb conditioner. Expect the treatment to darken the leather permanently. For genuinely heavy rain, a treated leather glove worn with a thin waterproof overglove beats any treatment alone.
- Can you put leather motorcycle gloves in a washing machine?
- No. Never machine wash leather gloves and never put them in a dryer. Detergent strips the tanning oils that keep leather flexible, prolonged soaking at temperature makes the collagen fibers contract so the gloves come out one to two sizes smaller and stiff, and the tumbling action stresses seams and the thin panels between the fingers while the leather is wet and weakened. The damage is not reversible. Clean them by hand instead: brush off loose dirt, put the gloves on and wipe them down with a barely damp cloth and a little leather cleaner applied to the cloth rather than the glove, wipe the lining with a cloth dampened in lukewarm water only, air dry away from heat and sunlight with the gloves lightly stuffed to hold their shape, then condition once dry. The same rule applies to leather vests and jackets.
- Why did my leather motorcycle gloves shrink after getting wet?
- Leather is collagen fiber. Soaking displaces the tanning oils and swells the fibers, and as the leather dries those fibers contract and draw together more tightly than before. If they dry quickly they set in that contracted position, leaving the gloves smaller, harder and less flexible. Heat accelerates this dramatically, which is why gloves dried on a radiator, a heater vent or in direct sun shrink noticeably while gloves left on a table often do not. To prevent it, blot wet gloves with a towel, put them on for a minute to restore their shape, then dry them slowly at room temperature over 12 to 24 hours away from any heat source, and condition them once dry. To partly reverse shrinkage, work a generous coat of conditioner in, then wear the gloves while the conditioner is still working and repeatedly make fists and spread your fingers for several minutes, repeating over a few days.
- How do you store leather motorcycle gloves over the winter?
- Clean them before storage rather than after, because sweat salts and road grime are mildly acidic and keep working on the leather all winter. Condition them more generously than usual, since they have months to absorb it. Store them flat or lightly stuffed with plain paper to hold their shape, never folded, balled up in a pocket or under heavy items, because compression creases become permanent. Keep them somewhere cool, dry, dark and ventilated, such as an indoor closet shelf. Do not seal them in a plastic bag or airtight bin, because leather needs to breathe and trapped moisture causes the mildew people find in spring; use a cotton pillowcase or breathable cloth bag instead. Avoid garages, sheds, attics and basements, where temperature swings, damp and mice cause most losses. Flex and lightly condition them again before the first spring ride.
- How do you keep a leather motorcycle vest from cracking?
- Leather cracks when it dries out and then flexes, so cracks appear at the front closure, armhole edges, shoulder fold and bottom hem. Prevent it with five habits: condition on a schedule of about twice a year rather than waiting for symptoms, because by the time leather looks dry it has already lost much of its oil; keep the vest out of direct sun when not worn, since UV breaks down the surface finish fastest; never dry it with heat, always at room temperature on a broad hanger; hang it on a wide wooden or padded hanger rather than a wire one, which concentrates the vest's weight on two narrow shoulder points and causes deformation and cracking there; and clean dried sweat and salt off the collar and armholes, which is the most reliable predictor of where a vest cracks first. Conditioning an already-cracked vest will stop the cracks spreading but will not close cracks that have gone through the grain.
- What is the difference between leather cleaner and leather conditioner?
- Leather cleaner removes dirt, sweat, and grime from the surface, while leather conditioner replaces the natural oils that keep the hide soft and prevent cracking. They do opposite jobs and work as a pair. Clean first to lift grime, then condition to restore moisture. Cleaning without conditioning leaves leather dry; conditioning over dirt seals grime into the hide. Used together in the right order, they keep motorcycle leather supple and looking right for years.
- Can I use saddle soap on motorcycle gloves?
- Be careful with saddle soap on riding gloves. Saddle soap is formulated for thick, sturdy leather like tack and boots, and it can be too harsh for soft garment hides such as deerskin and goatskin, stripping oils and stiffening the leather. For motorcycle gloves, a mild leather cleaner made for garment leather is the safer choice. If you do use saddle soap on heavier gear, use it sparingly and always follow with a conditioner.
- How often should I use leather care products on my gear?
- For regular riders, clean and condition leather gear every few weeks during riding season, and more often in wet, salty, or dusty conditions. Apply water repellent a few times a season or before wet trips. A quick wipe-down after a hard ride costs minutes and prevents grime from building into stains. Deep conditioning before long-term storage is also important. Consistent light maintenance beats occasional heavy cleaning for keeping leather healthy.
The bottom line on leather care products
A short, quality kit beats a crowded shelf every time. Start with a conditioner, add a mild cleaner, bring in a water repellent if you ride wet, and keep clean cloths and a soft brush on hand. Match everything to your hide, apply it lightly, and stay consistent. Never machine wash leather, never dry it with heat, and never store it sealed in plastic. That simple lineup and those three rules are what keep American-made deerskin gloves, leather vests, and horsehide jackets riding strong for years, and it costs far less than replacing gear you could have saved.